
LCA 2011 Rocket Build Instructions
Tools needed
- C clamps for fins
- Jig saw, coping saw or scroll saw for cutting fins
- Drill
- 2.5mm (3/32"), 3mm (1/8"), 4mm (5/32"), 5mm (3/16") drill bit
- hand saw for ring notch
- section of 1.5cm right angle aluminium
Consumables needed:
- 60 grit to roughen for epoxy
- 80-200 grid for finish sanding
- 5min epoxy
- Epoxy clay
- Rubber bands to hold fins in place
- dowel to spead epoxy
- craft sticks
- nitryl gloves
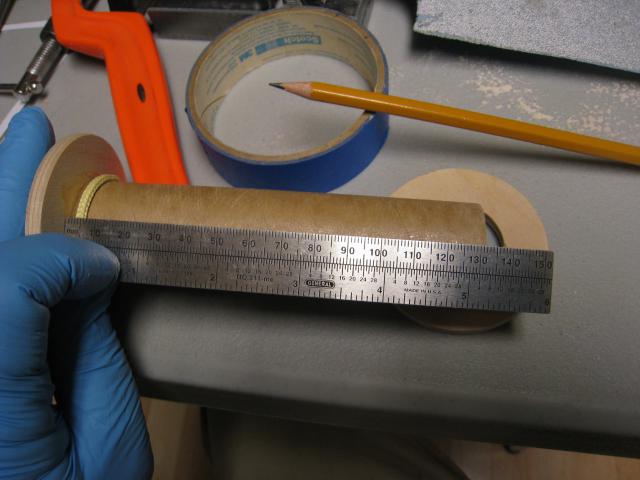
Cut body tube
- Mark desired forward body tube length
- Wrap paper around tube evenly
- Mark around tube
- Cut at mark.
- Sand faces and edges smooth
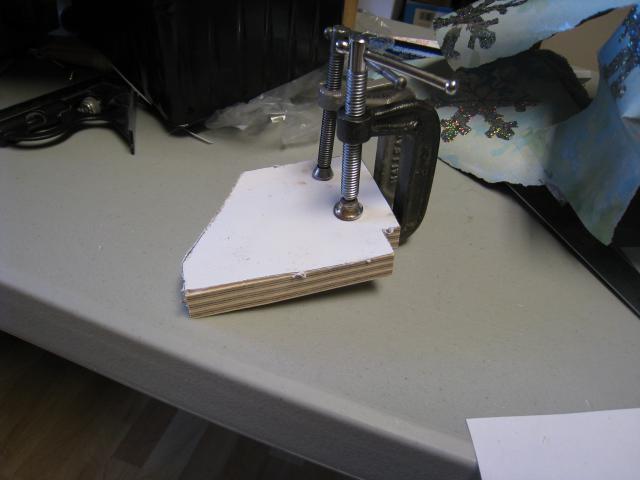
Fin can:

- Cut the Fins
- Clamp three rough pieces
- Mark fin outline
- Cut
- Sand until even
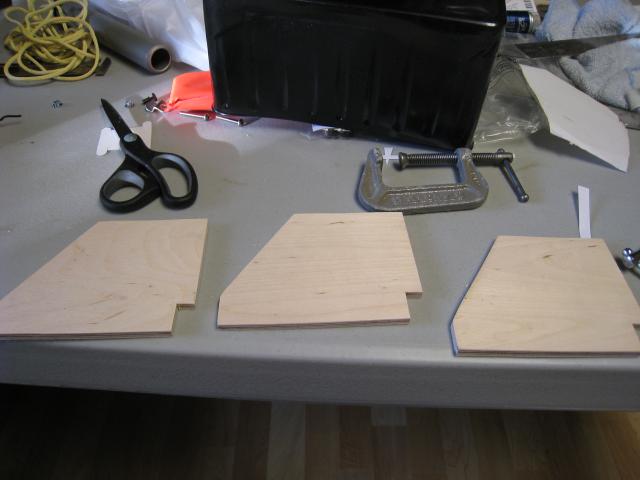
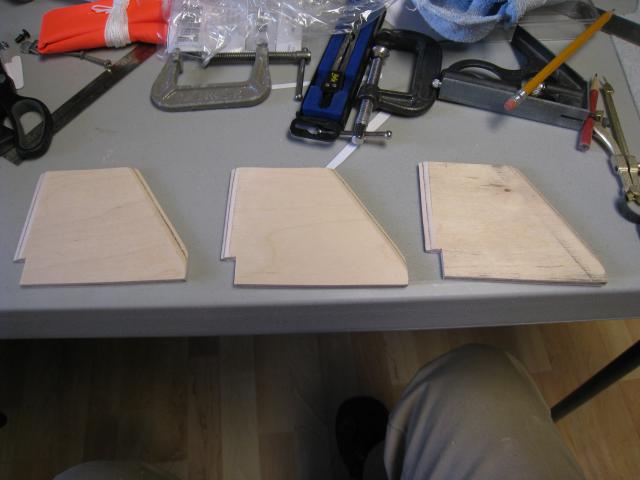
Fins clamped together and cut:
All cut out:
Bevel forward and aft fin edges
- Mark edge of bevel area (I used 5mm from edge)
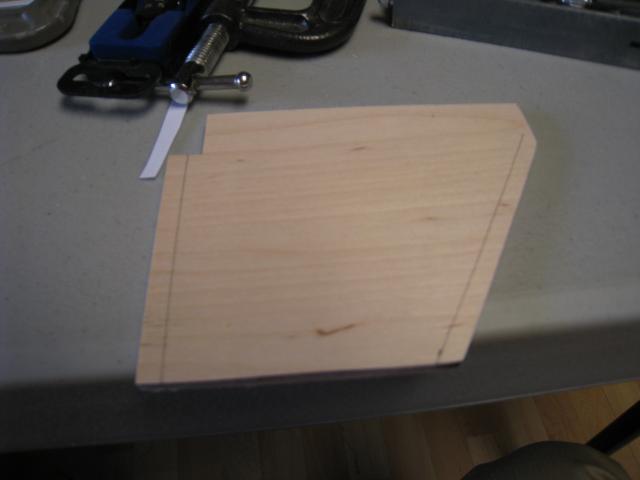
- Note ply at center of plywood (mine had a nice dark center ply)
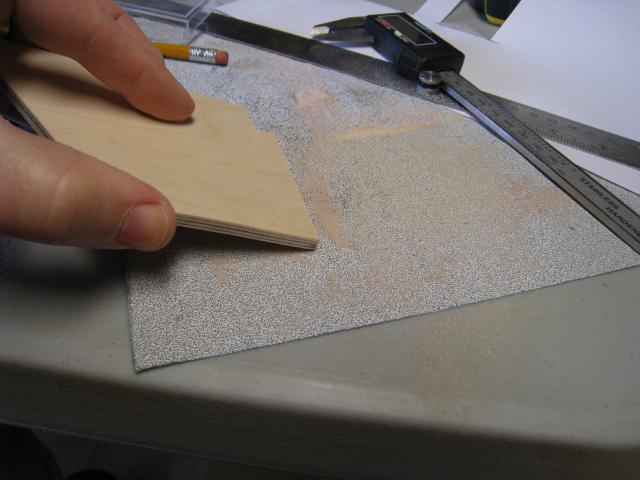
- Sand to center ply and edge of bevel area
- Mark edge of bevel area (I used 5mm from edge)
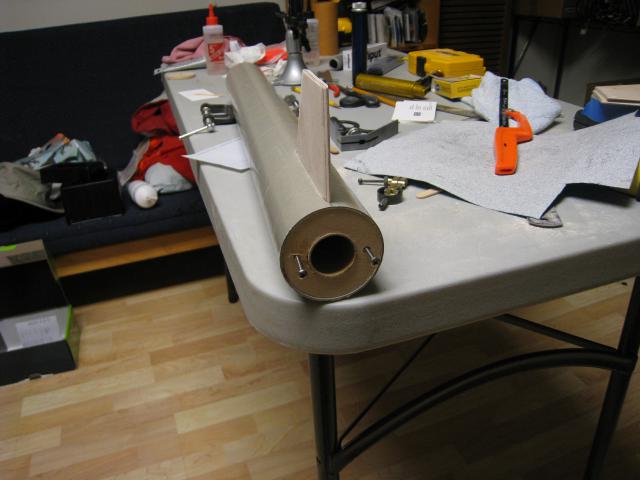
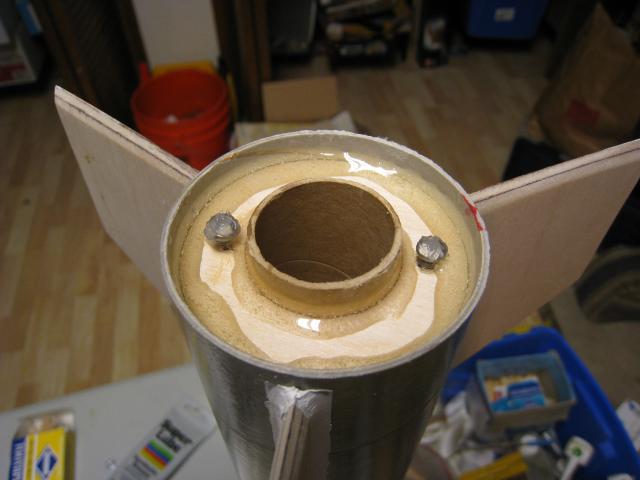
Drill aft centering ring for motor retainer t-nuts
- Place aft ring over MMT so that a few mm of MMT are exposed at the aft end.
- Position a mirror clip so that it lies flush on the aft ring and rests up against the exposed section of MMT
- Mark center of mirror clip hole
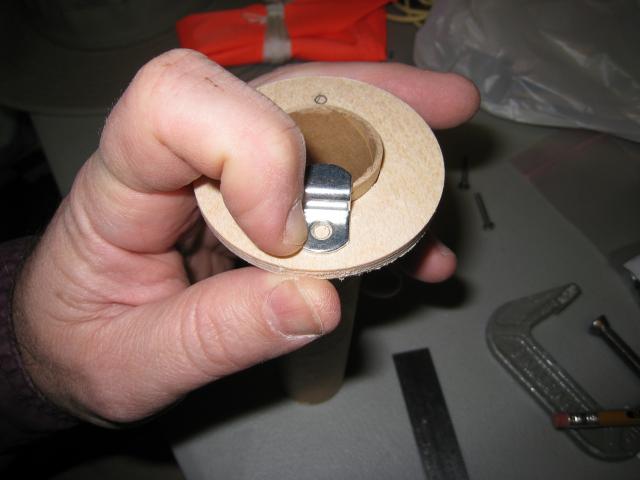
- Drill 5mm (3/16") holes
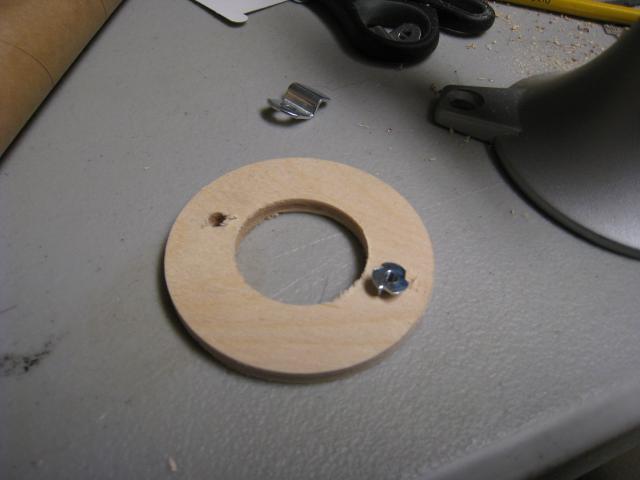
Glue in t-nuts
- Dip the threads of the bolt in some grease
- Apply small amount of epoxy to t-nut
- Tap in place
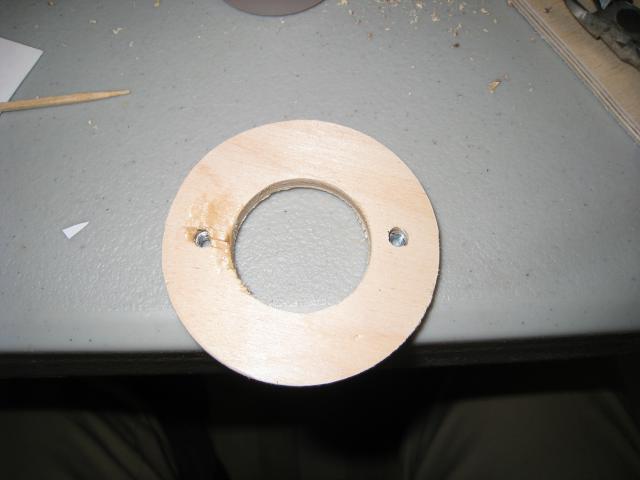
- Thread in the greased bolt to keep epoxy out of the threads
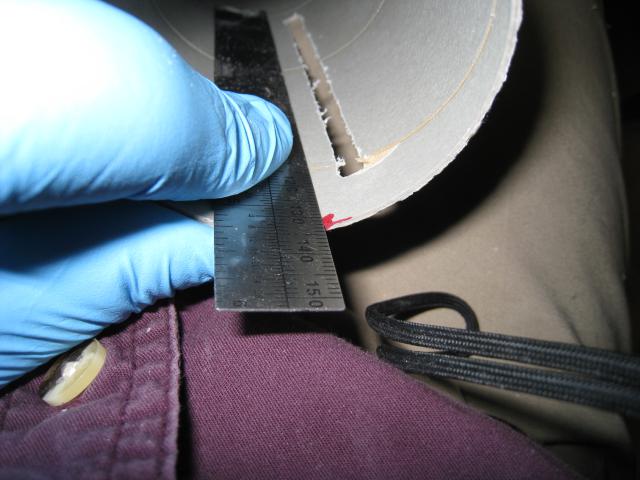
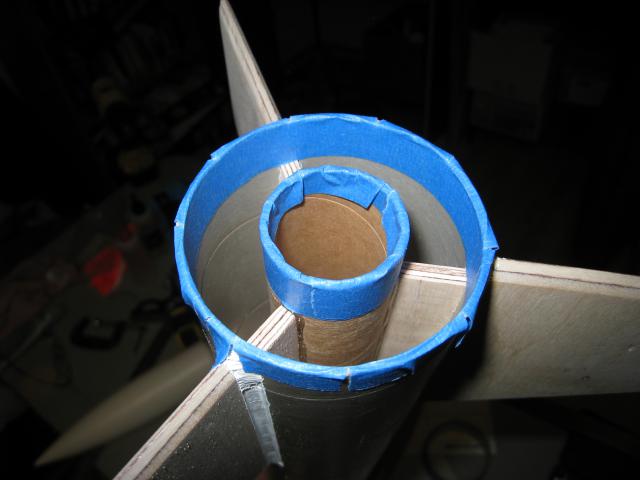
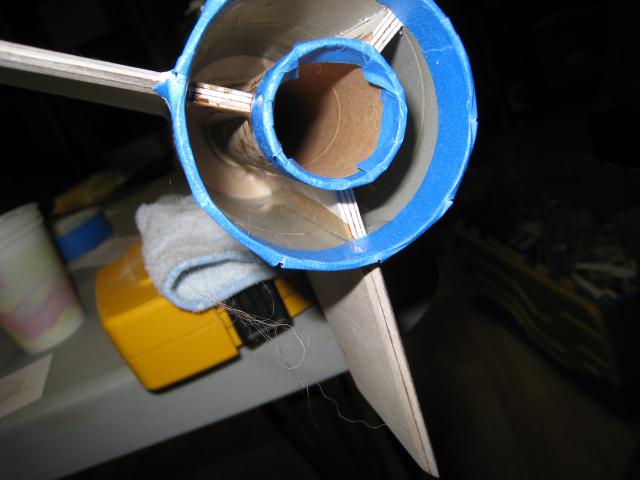
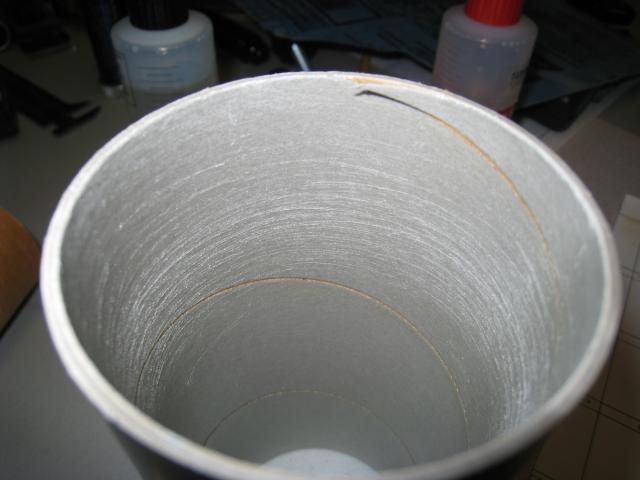
Notch forward centering ring for shock cord
- Mark 2.5mm circle on inner edge of forward ring
- Use a saw or dremel to notch a 2.5mm (1/8") slot in the inner
edge of the forward centering ring

- Mark 2.5mm circle on inner edge of forward ring
Prepare the motor mount
- Roughen the whole motor mount with 60 grit paper
- Wrap a piece of paper around the MMT with a straight
edge aligned with the forward edge of forward
centering ring
- Mark along the edge of the paper to locate the forward ring
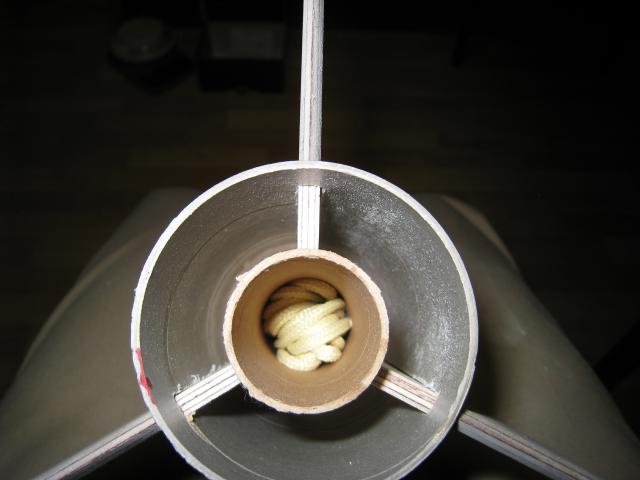
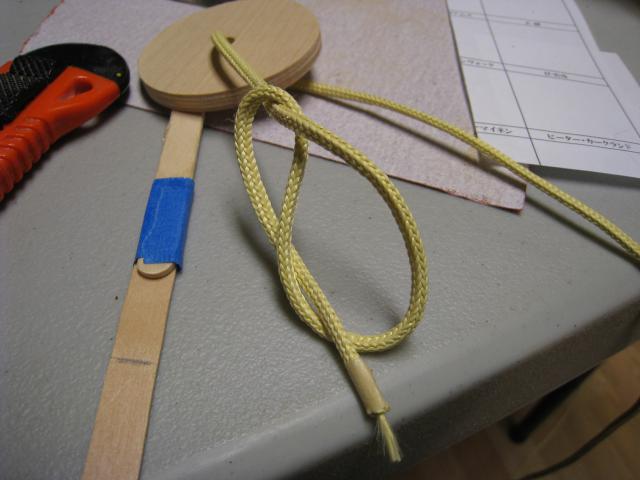
Tie shock cord around mmt, well aft of forward centering ring. Use a bit of CA to keep the knot from undoing itself.
Glue on the forward centering ring
- Spread epoxy on MMT over the line marked for the forward position
- Push ring onto MMT, align with mark
- Check ring position
- Stand on forward end to cure
- Build fillet on forward boundary between MMT and ring
- Stand on aft end to cure
Install MMT into body tube
- Bundle shock cord and tuck inside mmt
- Test fit MMT with ring into body tube
- Adjust by sanding if necessary
- Spread epoxy on inside of MMT, just forward of fin slots
- Insert MMT into body tube, carefully moving it until
it is at the right spot, avoid pulling backwards
- Insert aft centering ring to keep the MMT centered.
- Make sure there is absolutely no epoxy anywhere near the aft ring as it will be removed later to build interior fin fillets
- Stand on aft end to cure
- Bundle shock cord and tuck inside mmt
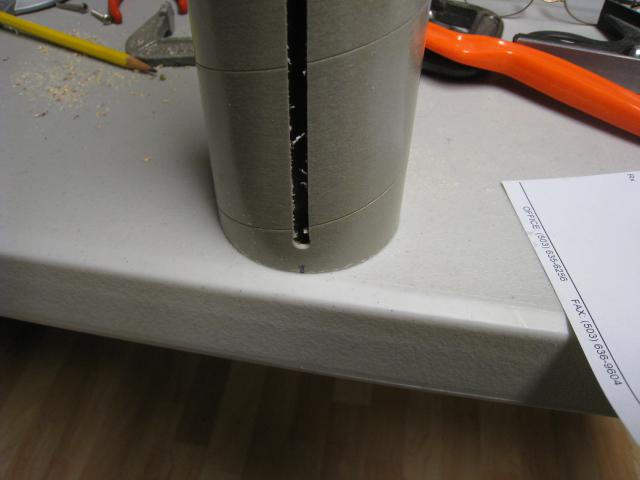
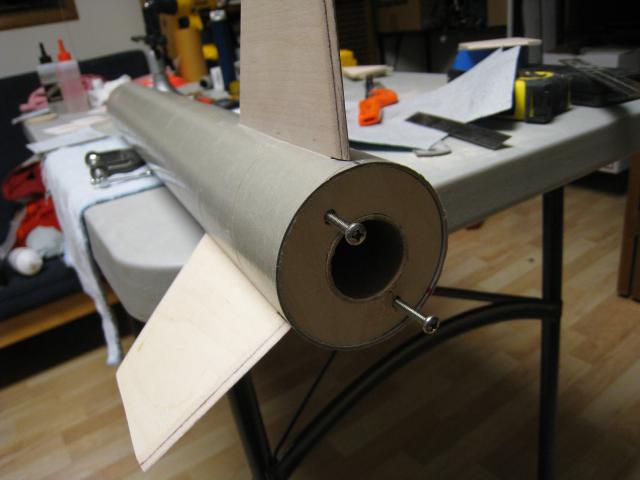
Attach fins
- Leave the aft ring in place, but be careful not to end up gluing it in place while attaching the fins. Pull the aft ring back flush with the aft end of the rocket to leave a bit of space
- Check fin fit, adjust slots with sand paper as needed
- Spread epoxy on one fin root, leaving a gap at the aft end to avoid gluing the fin onto the aft ring.
- Insert into slot
- Leave fin vertical until cured
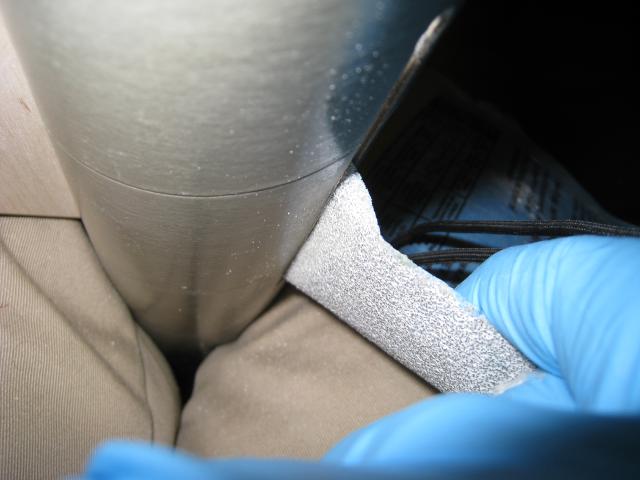
Make exterior fillets
- Mask outside of body and all three fins leaving only the space for the fillets clear
- Mix some epoxy clay
- Spread epoxy clay with a popsicle stick making a nice
round fillet even with the edge of the tape.

- Finish all six fillets, mixing more epoxy as needed
Make interior fillets
- Protect MMT and body interior with blue tape
- Align one fin straight down
- Work epoxy into four fillets with a dowel
two on MMT at the top of the two fins
two on body around the bottom fin
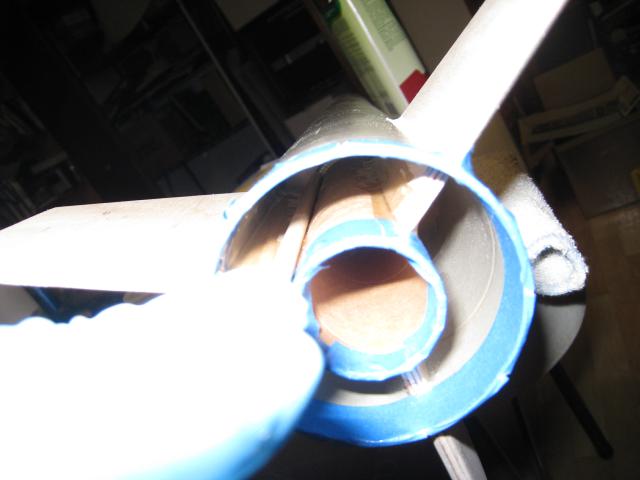
- Repeat with other fins
- Protect MMT and body interior with blue tape
Glue on rear centering ring
- Mix high temp epoxy spread on inner surface of body spread on outer surface of MMT press rear ring into place
- Build fillets between ring, MMT and body
Rail buttons
- The aft rail button just need to be screwed into the aft ring
- Pick the ugly side of the rocket and find the mid point between two fins near the aft end of the fins.
- Carefully measure up from the aft end of the rocket to the midpoint of the aft ring.
- Now mark a point near the expected CG of the rocket on the body tube.
- Transfer the location of the aft rail button to
intersect this position using a piece of right-angle
aluminium.
- Drill 3mm (1/8") holes at these locations
- Tap the holes for 8/32 threads
- Drop a small amount of epoxy into the aft hole and screw the rail button in place.
- Dab a bit of epoxy on the end of the other rail button screw and screw that in place.
- Inside the airframe, dab more epoxy to cover the exposed threads of this screw, making the bay as smooth as possible.
Vent body
- Measure back from forward end of body tube past where couple will fit
- Use angled aluninium to line vent with rail buttons
- Drill 3mm (1/8") hole
E-bay
Join forward body and coupler
- Roughen outside of coupler 1/2 way along length
- Wrap paper around coupler with straight edge at half-way mark
- Draw line around coupler
- Roughen forward body tube inside for a similar distance
- Spread epoxy inside forward body tube
- Slide coupler inside body tube to mark

- Roughen outside of coupler 1/2 way along length
Measure for sled
- Adjust nose to fit in body tube
- Install nose and measure for sled length
Install bulkhead:
- Thread shock cord through hole in bulkhead
- Tie knot and glue shock cord in place.
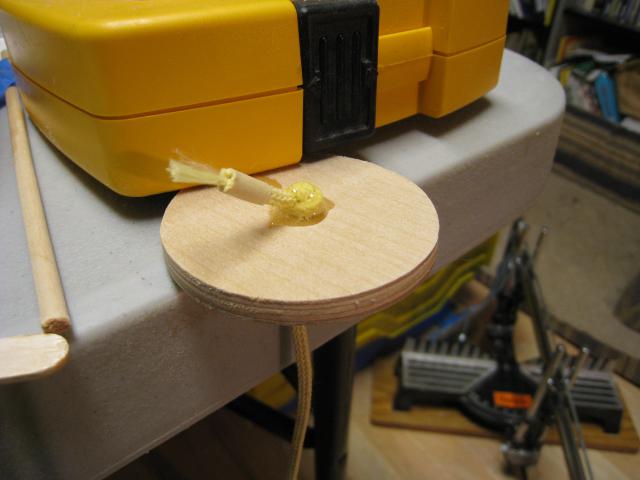
- Roughen coupler inside for 1cm at aft end
- Glue bulkhead inside coupler
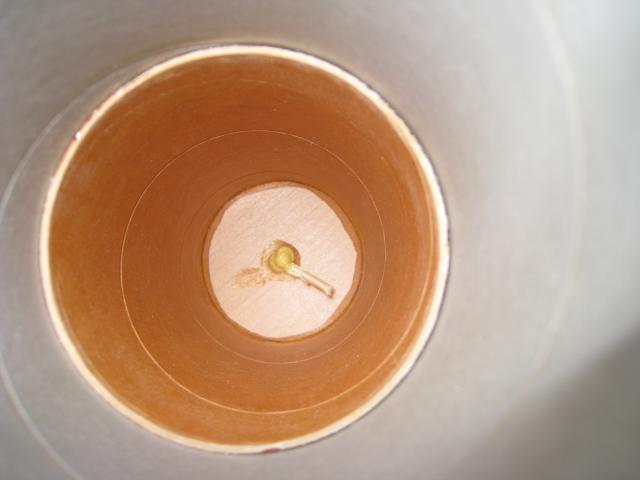
- Make fillet on aft side of bulkhead
Install nose retainers
- Insert nose into forward body tube
- Mark and drill holes for two plastic retainers
- 4mm (5/32") holes
- Snap in retainers to test fit
Make sled
- Cut sled to fit inside coupler, butting against nose, with notche for shock cord aft.
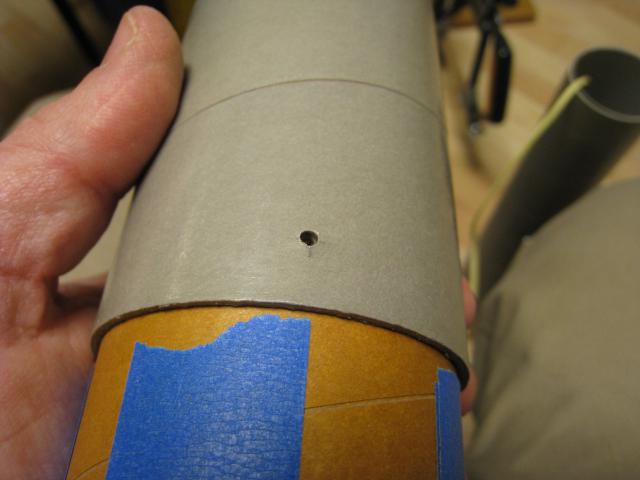
Vent e-bay
- Vern Knowles has a page to computate ebay venting hole sizes. For my 15cm ebay, I'm using 2 2.5mm (3/32") holes.
- Measure 1cm up from aft end of ebay body tube
- Wrap paper around body, marking circumference
- Fold, halving the measured circumference and mark that
- Rewrap around the tube and mark the location of the second hole

- Drill two holes
Painting
- Fill spiral grove in body tube
- Clean up flashing on nose
- Sand and finish